
Storefront
Launch a hosted store on a seevplus.store subdomain, list products, and take online and in-person orders.
A Seev Storefront is a hosted online store you run entirely from the dashboard, with a public catalogue, a cart and checkout already wired up. Reach for it when customers should browse and choose products themselves.
Customers should browse a catalogue, build a cart and check out on their own.
Payments inside your own site or app, which is the Checkout API. One amount from one person, which is a payment link.
Approved verification before live checkout. You can build the store before that.
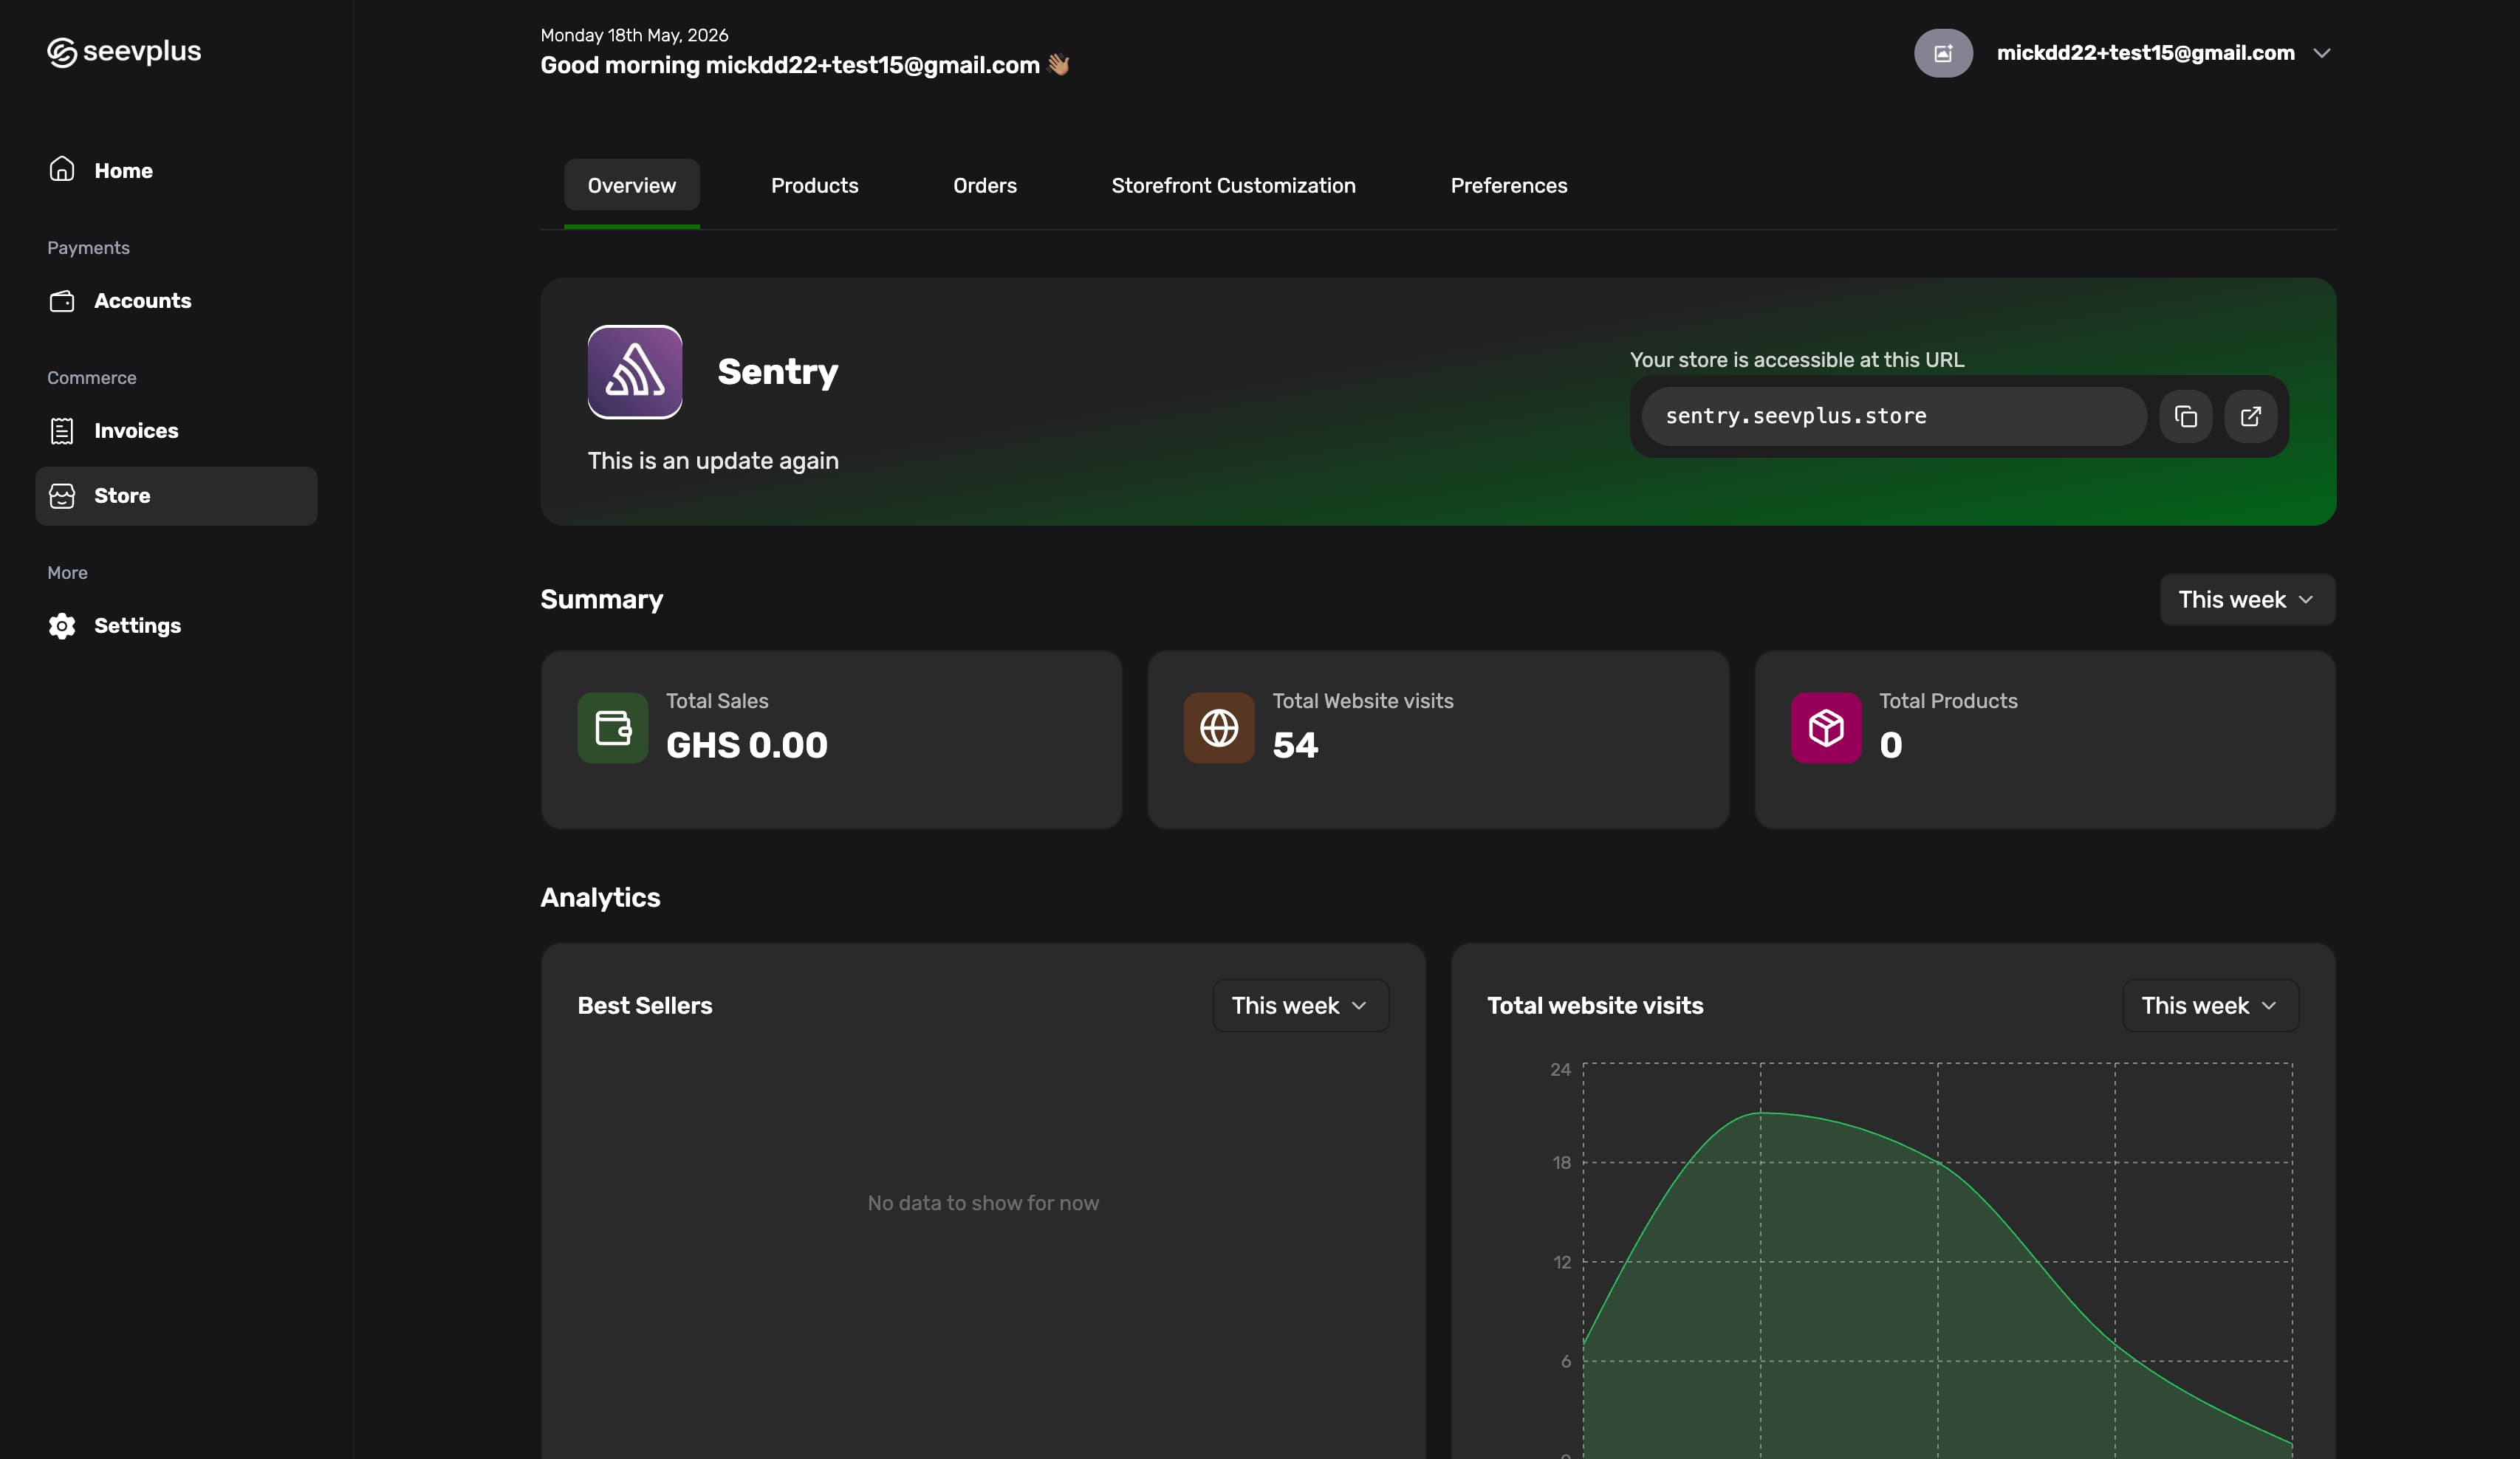
Launch a store
- Log in to the Seev Dashboard.
- Go to Storefront → Create Store.
- Choose your subdomain.
- Add your store name, logo and a short description.
- Set the store's currency and preferences.
- Click Launch Store. The store is live immediately.
https://yourstore.seevplus.storeUnique across all Seev storefronts, and what customers bookmark and share. Custom domains are not supported.
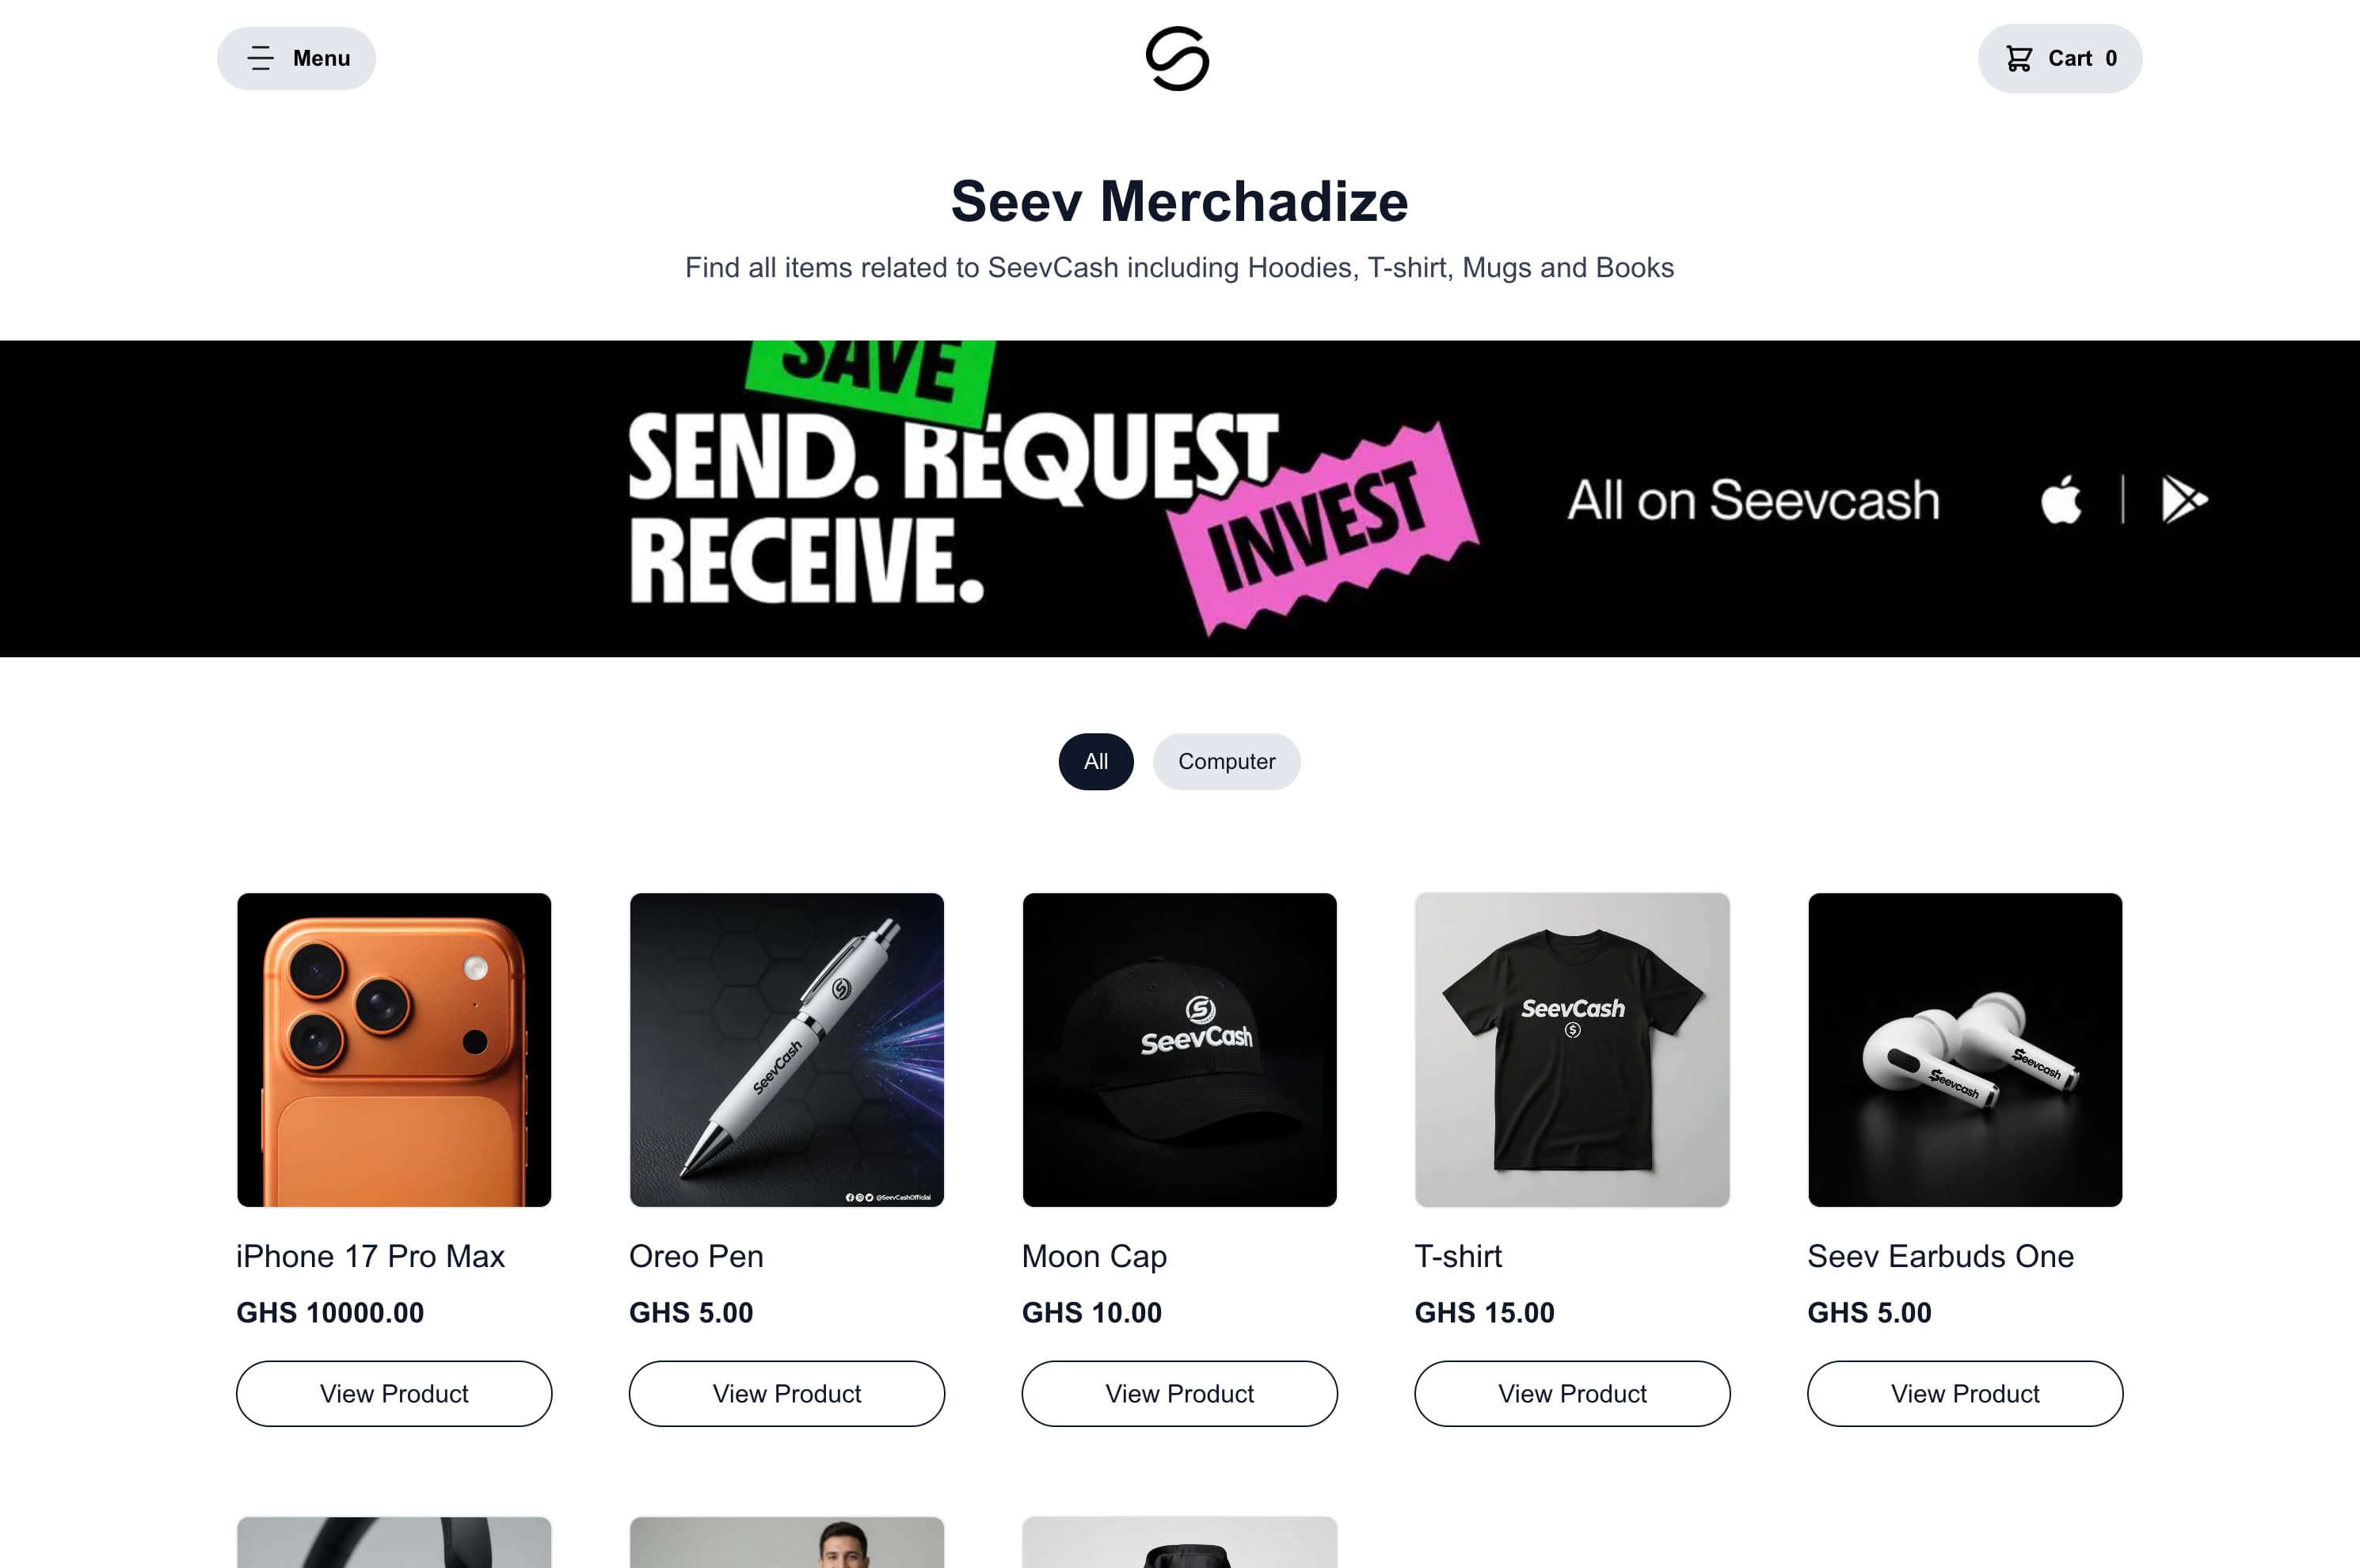
Add products
Add and manage products from Storefront → Products.
Product title shown on the store.
Full product description on the product page.
Listed price in the store currency, entered in major units.
Up to 5. At least one is required before the product can be made visible.
Inventory count. The product is hidden once it reaches zero.
Published or Draft. Draft products never appear on the public store.
Products can be grouped into categories so the store is easier to browse. The Active on site switch controls public visibility, and a product with no image cannot be enabled at all. Add one by opening the product, or by clicking or dropping an image onto an empty thumbnail in the products table.
The All, Enabled, Disabled and Low stock filters request matching products from the server, product lists paginate, and the public storefront loads further active products as the customer scrolls.
Import products from a CSV
Bulk upload sits as a secondary action on the Products tab.
- Download the CSV template.
Add product rows, with optional comma-separated image URLs.
- Drop or select the CSV file.
- Review the valid rows and the reported issues.
Click or drop images onto individual preview thumbnails where a row needs one.
- Import the reviewed products.
Imported products start inactive, so verify each one's image, price, stock and description before you publish it. A row that reports an issue is not imported: correct it in the CSV and upload again rather than assuming a partial import succeeded.
Change many products at once
Select product rows to enable quick actions such as toggling visibility, featuring products, or deleting the selection after confirmation. Update stock edits stock counts for active products in one scrollable view without opening each product.
Take payment for an order
A customer who adds a product and checks out goes through the Seev-hosted payment flow, the same one used by payment links and invoices. Which methods appear is decided per payment. See Payment Methods, and never promise a customer a method that is not selectable on the live checkout page.
The active organization must be approved before the store can collect a live payment. A store launched under an unverified organization shows products and fails at checkout.
Sell in person with POS
The POS tab creates real storefront orders for in-person sales.
- Search the active product list.
Add products and adjust quantities in the checkout cart.
- Create the POS order.
Show the generated QR code for the customer to scan, or open the checkout link on the payment device.
POS orders appear in the normal Orders tab with a visible POS indicator, and the All, Store orders and POS orders filters separate in-person from online activity. POS placeholder customer details are excluded from customer analytics, and a real customer is recognized once they provide a receipt email during payment.
Track and fulfil orders
Every completed purchase creates an order in Storefront → Orders, carrying the customer's name, email and phone; the items purchased and their quantities; the payment method and the transaction reference; and the order status.
Payment initiated but not yet confirmed. Do not ship.
Payment succeeded. Ready to fulfil.
You marked it fulfilled.
Cancelled before or after payment.
Set fulfilment up from Webhooks, and read Verify Payments for the delivery behaviour your handler has to tolerate.
A Pending order is not a failed one. A mobile money payment can sit
pending while the provider settles, so leave it alone rather than cancelling
and asking the customer to order again.
Configure the storefront
Storefront Customization and Preferences control:
Where those options are available, preferences also cover the pickup address, the shipping locations, business hours, store policies and product categories.
- The correct organization and store are selected.
Every product has a clear image, a name, a price, a description and a stock count.
Only the products that should be publicly visible are enabled.
You have opened the public store and walked through browsing, the cart and checkout yourself.
Organization verification is complete, before expecting live checkout to work.
The pickup, shipping, contact, business-hours and policy information is reviewed.